
Why keepsakes matter
Many of the decorations in museum collections survive because families treasured them. The Deutsches Weihnachtsmuseum in Rothenburg ob der Tauber displays generations of handmade and early manufactured tree ornaments, and the Young V&A in London holds toys and seasonal objects that tell domestic stories. Embroidered samplers, often stitched by children with their name and the year, are among the most moving: proof of a particular person at a particular moment.
Salt dough has a folk history too. Bread dough figures appear in festive customs across Central Europe, and salt dough became a popular home craft in the twentieth century because it uses pantry staples. The Royal School of Needlework at Hampton Court Palace continues to teach the hand-embroidery skills behind stitched keepsakes, though a simple running stitch is all you need here. Even printed Advent calendars, popularised in Germany by Gerhard Lang in the early twentieth century, began as family objects saved and reused.
Choose one shape for the whole family each year, a star or a heart, so the collection grows into a matching set. The variety comes from the hands that made each one.
Sourcing materials
Plain flour, table salt and water are the entire dough recipe. Cutters can be biscuit cutters, a glass rim or a hand-drawn card template. For stitched pieces, look for wool felt from old jumpers that have shrunk in the wash, or offcuts from a local sewing group. Embroidery thread, buttons and ribbon often live in a forgotten sewing tin. Leftover acrylic paints from school projects are fine for decorating dough.
Project: dated salt dough ornaments
Usable instructionsSupplies (makes about 15 ornaments)
- 1 cup (about 125 g) plain flour and ½ cup (about 150 g) fine salt
- ½ cup (about 120 ml) lukewarm water, added gradually
- Rolling pin, cutters, a straw for hanging holes and a cocktail stick
- Baking tray, baking paper, acrylic paints and clear water-based varnish
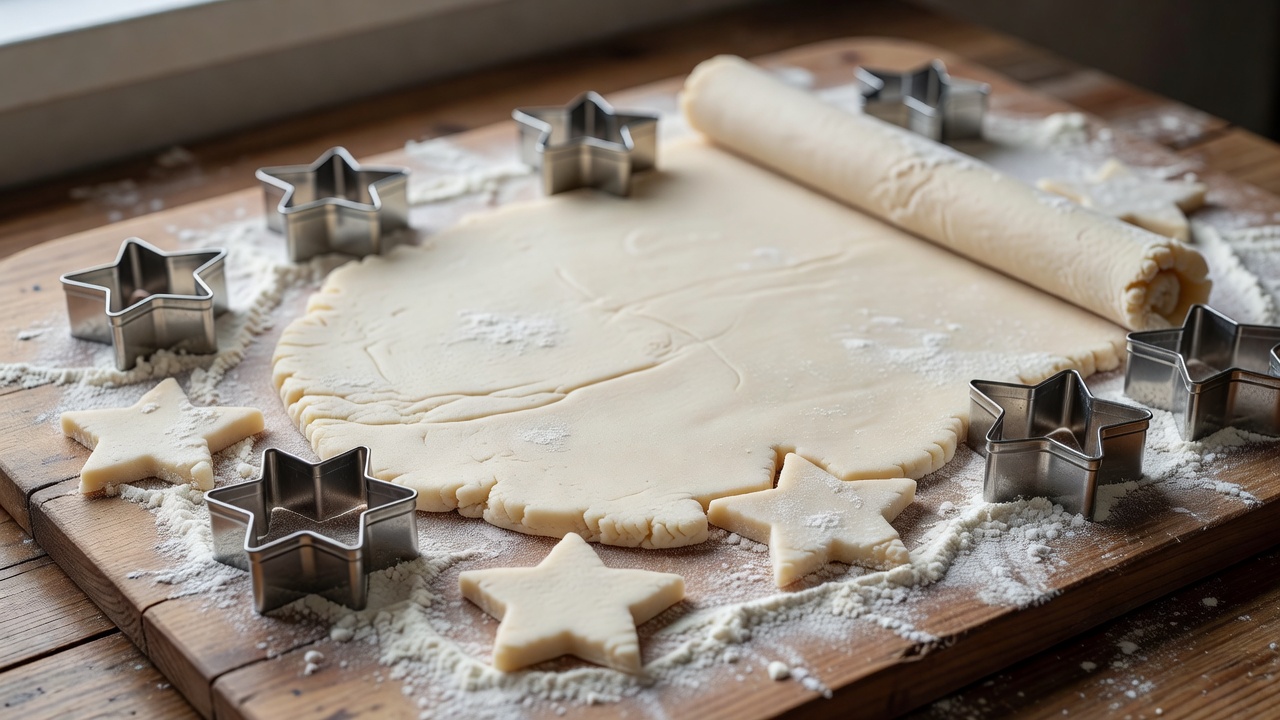
- Mix the flour and salt in a bowl, then add the water a little at a time, stirring until a firm dough forms.
- Knead for five minutes on a floured surface until smooth and no longer sticky.
- Roll to about 6 mm thick. Thinner pieces bake faster but break more easily.
- Cut shapes and lift them onto baking paper. Press a handprint, a leaf or a button into the surface if you like.
- Push a straw through the top of each shape for the hanging hole, and scratch the year and initials on the back with a cocktail stick.
- An adult bakes them at 120°C (fan 100°C) for 2 to 3 hours, turning halfway, until hard and dry right through. Larger pieces may need longer.
- Cool completely, paint, then seal front, back and edges with clear varnish so moisture cannot soften them.
- Thread ribbon through the hole and tie with a double knot.
A stitched felt bird
Draw a simple bird outline on card, about 8 cm long. Cut two felt pieces from it, place them together and sew around the edge with a running or blanket stitch in contrasting thread, leaving a small gap. Stuff lightly with wool scraps or cotton wadding, close the gap and sew a button eye and a ribbon loop. Stitch the year into a wing with small backstitches.
Storing keepsakes for decades
Wrap each piece in acid-free tissue paper, which many archives recommend because it does not yellow or transfer acid. Store in a rigid box somewhere dry and cool, not a damp garage or hot loft. Include a written card listing who made what and when. Salt dough attracts moisture and pests, so check it each year and keep a silica gel sachet in the box.
Troubleshooting
My salt dough puffed up and cracked.
The oven was too hot. Bake lower and slower, and prick thick areas with a cocktail stick before baking.
Ornaments went soft after a year.
They were not sealed on every surface. Dry them in a low oven, then varnish all sides including inside the hanging hole.
My felt edges are fraying.
Acrylic craft felt frays more than wool felt. Use felted wool from old jumpers or a slightly wider seam allowance.